Assembly Instructions for MECH028 – 7th July 2020 version
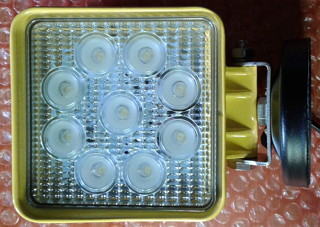
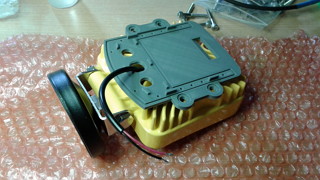
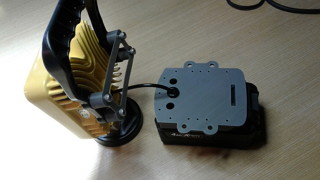
This is the WOWLED Light. It is marketed as a 27W LED Light.
I purchased mine from EBAY. The yellow version was a little cheaper at the time.
(search EBAY for Portable Magnetic Base 27W LED Work Light Floodlight Square or similar terms)
This version comes with a cigarette lighter plug, curly cable, handle and a magnetic base.
(The magnetic base is only strong enough to hold the light on a horizontal surface when the ALDI battery is added)
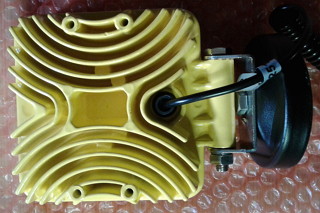
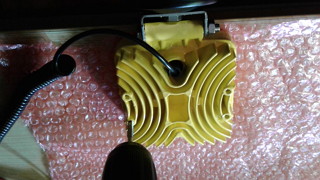
This is the back of the WOWLED light.
You can see the 4 threaded mounting holes for the handle.
Before you do anything else, test your light is working
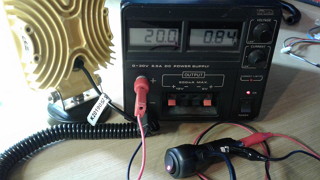
I used my bench power supply, you can just as easily conduct a quick test in your car
As you can see, the “27W” light is using ~ 16W of power ….
Still a good floodlight, I enjoy being able to see what I’m doing at night when I have this light with me
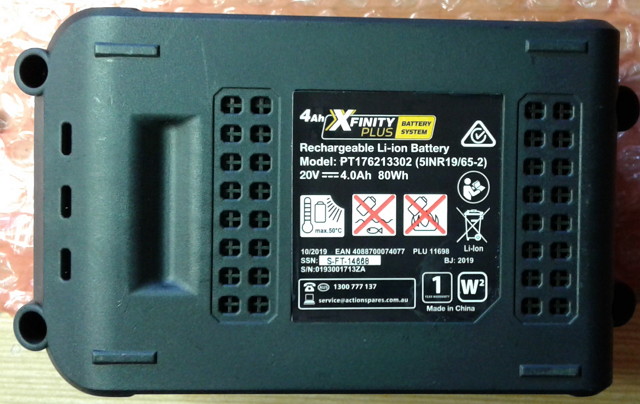
for Clarification, this is one of the ALDI XFINITY batteries that I use
so far I have 2Ah and 4Ah Batteries
and the model numbers have changed depending on when they were available
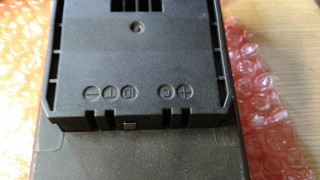
to clarify, this is the terminals on the batteries I have at this time
so long as the tool skins and batteries remain compatible, the sizing and terminal locations should remain the same
please check your battery is the same
we are only using the + and – terminals
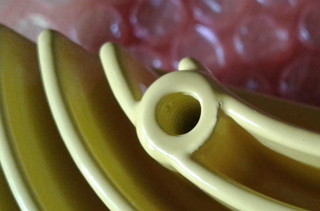
Looking at the light mounting holes on the back of the light
These are paint filled on the lights I received, I was unable to insert the M5 screws.
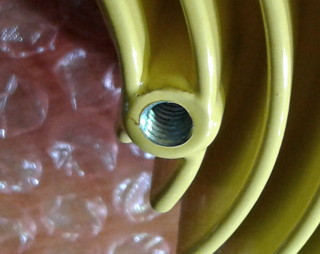
so I removed the paint using a M5 tap
to obtain clean threaded mounting holes
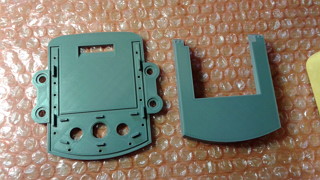
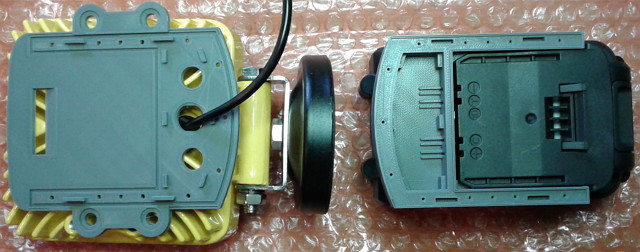
these are the MECH028 3D prints for the ALDI battery clip for the light
I call the part on the left the Battery Clip Base
I call the part on the right the Battery Clip Slot
I use SUNLU PLAP on a ANYCUBIC I3 MEGA printer
so far I have been happy with the results for most applications
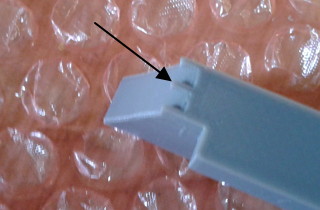
you will need to remove the supports (the 3 small pieces as indicated) if they have not already been removed (total of 6 for both sides) from the battery clip slot
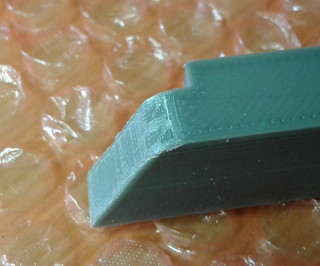
this is the clip slot after cleaning
Before you cut the Light Cable, test in your car to check your light works
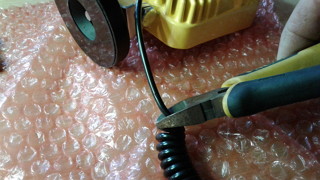
I cut off the curly cable just before the curling starts
(I feel this is a bit wasteful, so I am going to look at how to open the light to replace the cord in the future)
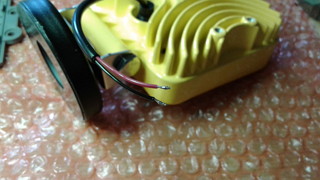
and strip away 30 – 40mm of the sheath and tin the wire ends
the RED is +, BLACK –
if you have any doubts, check the curly cable from the plug end
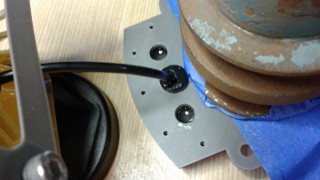
feed the cable through the cable bushing hole in the clip base
lay it all out as shown above and you can check placement for the TABs
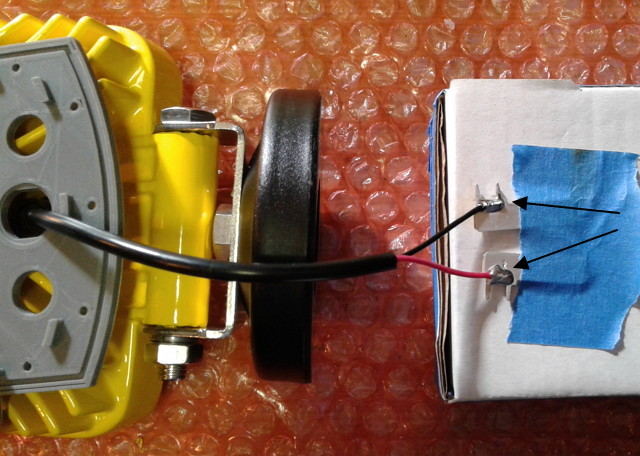
these are the 0.25″ TABs we will solder the light wires to
this is how to solder the light cable wires to the tabs
because I only have 2 hands, I use masking tape and a small cardboard box with some weight in it
I cant stress enough, pre tin both the wires and the tabs
Keep the solder on the TABs in a small area near the pins as shown
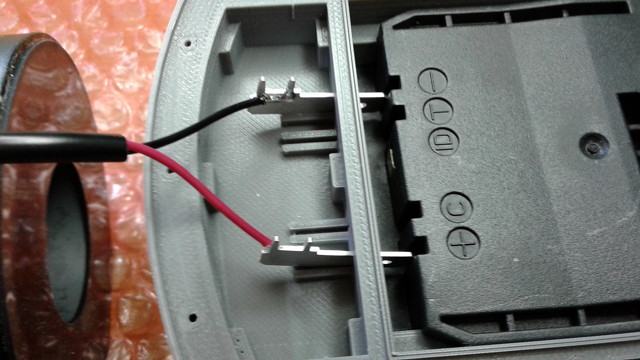
NOTICE the wires are soldered where the pins are on the TABS
NOTICE the TAB orientation
now push the TABs in place in the clip slot and you can quickly test with the battery in place
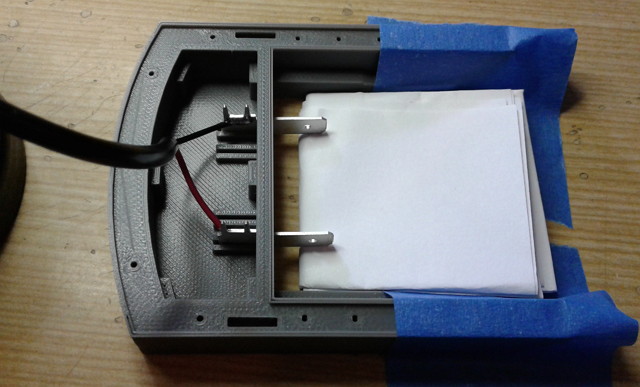
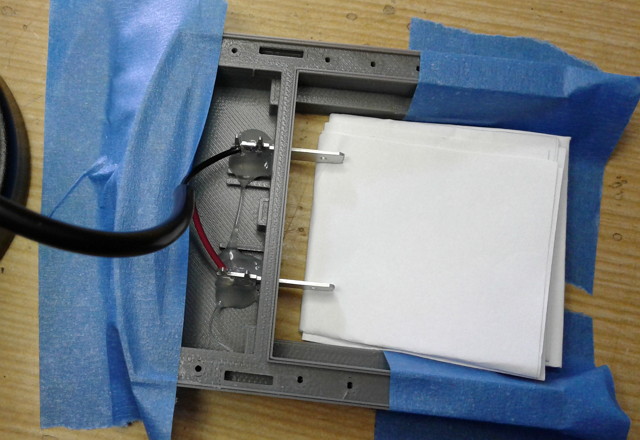
prepare to glue in the TABs into the clip slot
I used folded paper as shown above and Masking Tape to hold the assembly down on the table
and glue the TABs down
I used hot melt glue in the picture above, but I also recommend at this point you consider using epoxy to hold the TABs in place (after all you did do a quick test just a few steps previous)
Regardless of the glue used, leave to allow the glue to set / harden
after another quick check (connect to the battery), you can move the clip base into place
(if you are using epoxy, consider at this point bonding the clip base onto the clip slot, and screw base to slot together with M2x12 countersunk screws)
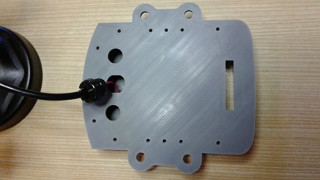
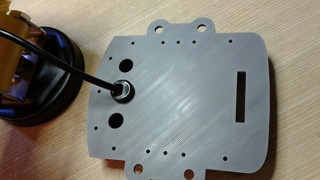
and insert the 5M-3 cable bushing
and test
and screw base to slot together with M2x12 countersunk screws
(I didn’t have the screws at the time the picture was taken)
Prepare to fill the cavity with hot melt glue
Because I used hot melt glue for the TABs, I had to pack the TABs to ensure they stayed in place
(I used folded paper both between the TABs and the clip base, and the TABs and the table)
Hold everything down with some weight
After you are satisfied everything is secure, consolidate the cavity by filling with hot melt glue
(If you don’t like hot melt glue, use a neutral cure silicone, if you use epoxy beware of shrinkage)
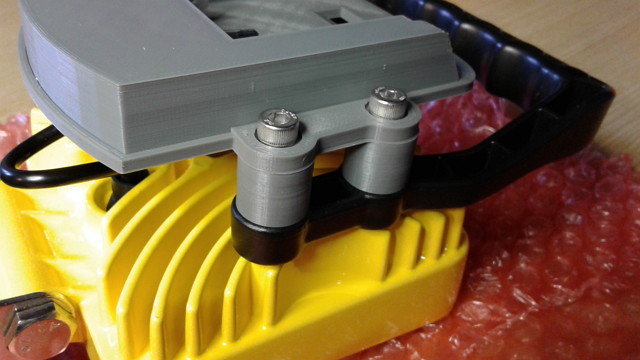
Using M5x35 socket cap screws, attach the handle, spacer, and clip assembly to the back of the light as shown above
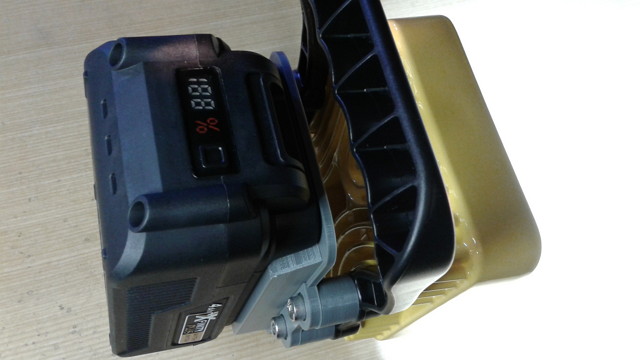
and we have a light using an ALDI battery

