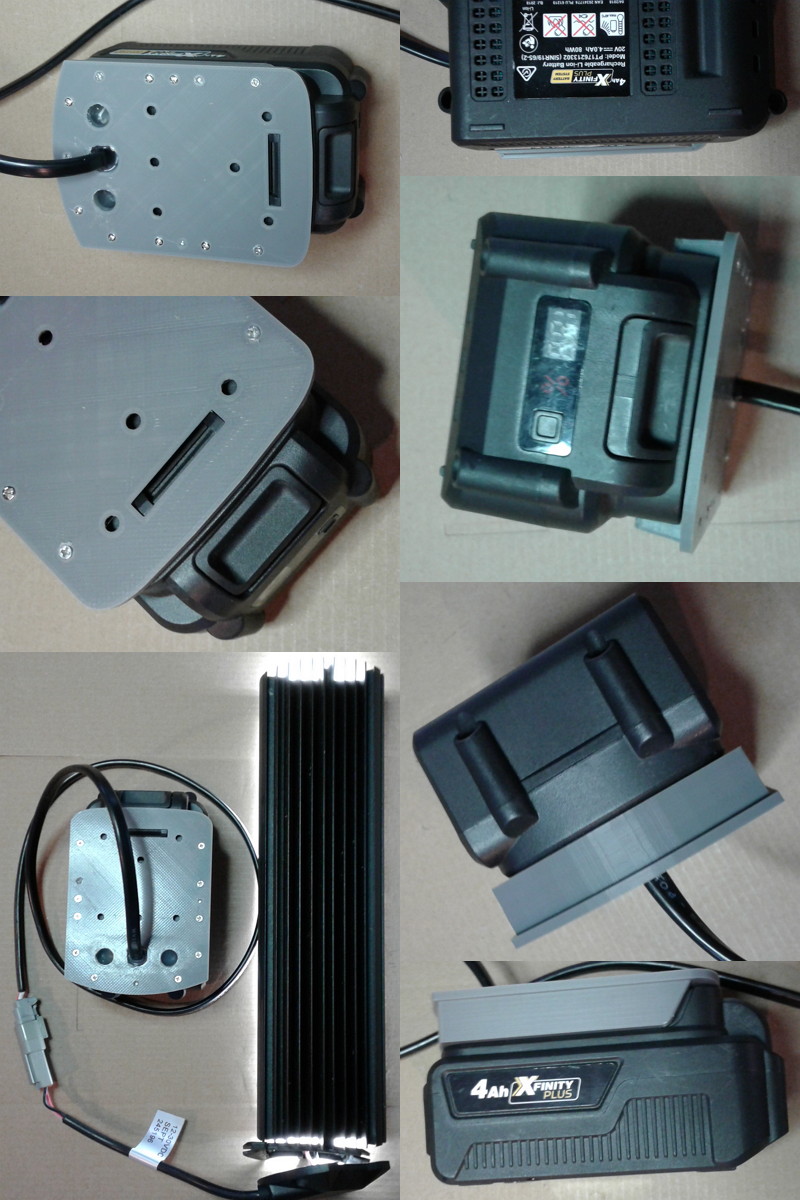
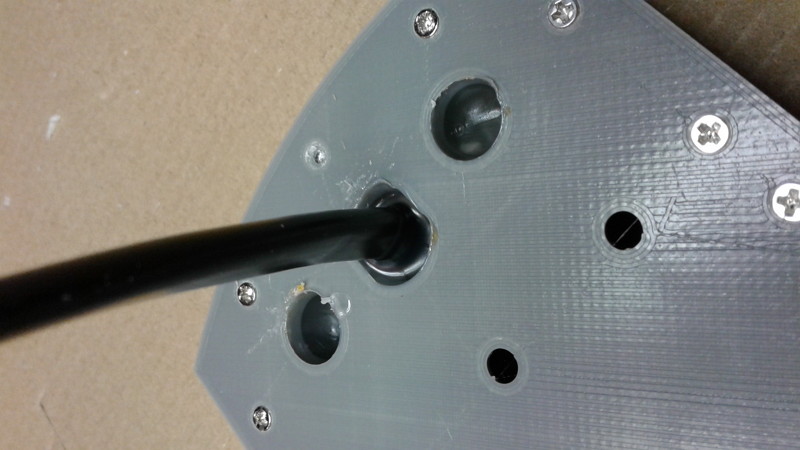
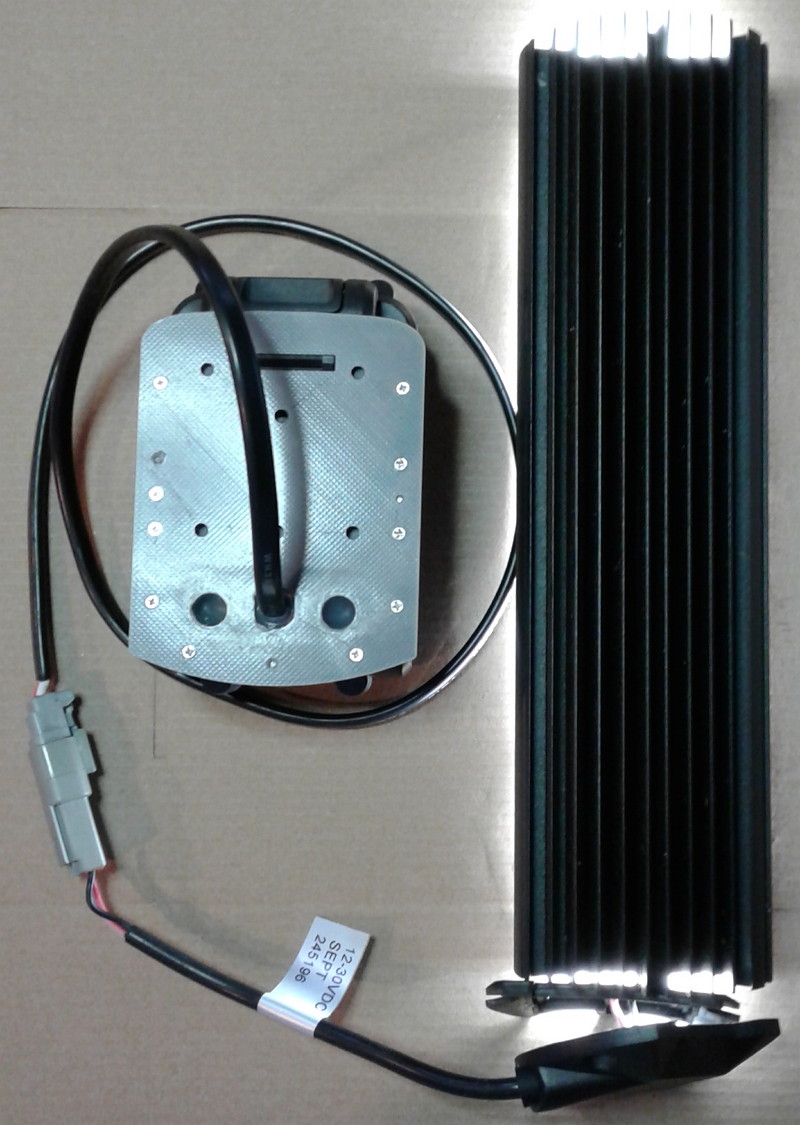
The MECH027 V03R04 helps connect an ALDI XFINITY battery to your project.
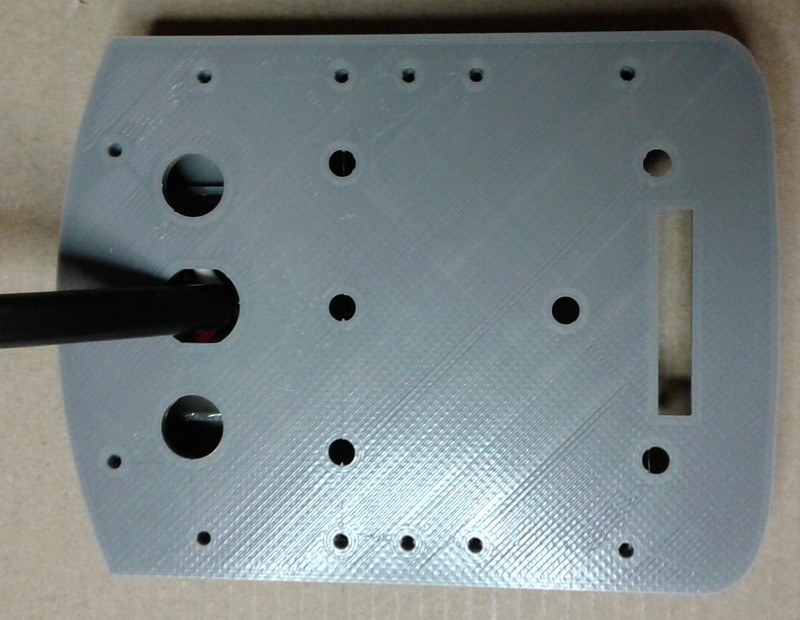
It has 6 countersunk mounting holes in the the BASE, and the connecting cable exits through BASE.
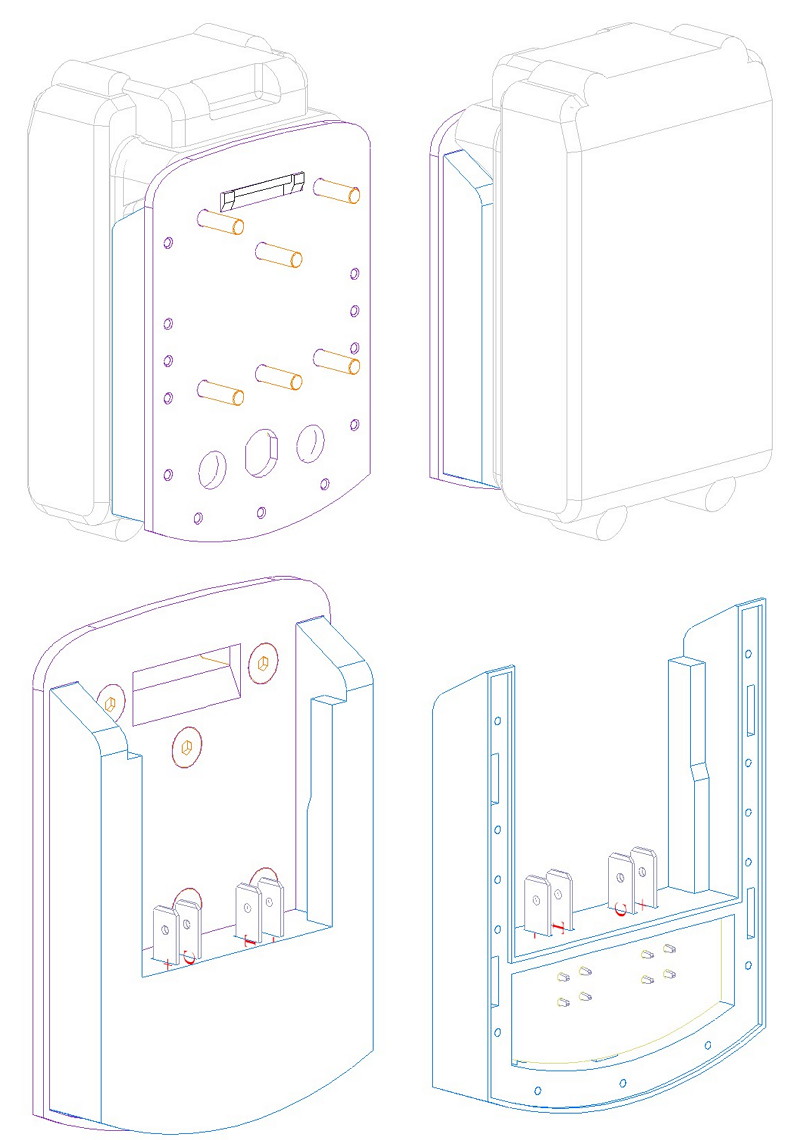
Drawings above shown with the six M4 mounting screws, the PCB fitted and with the 4 TABs.
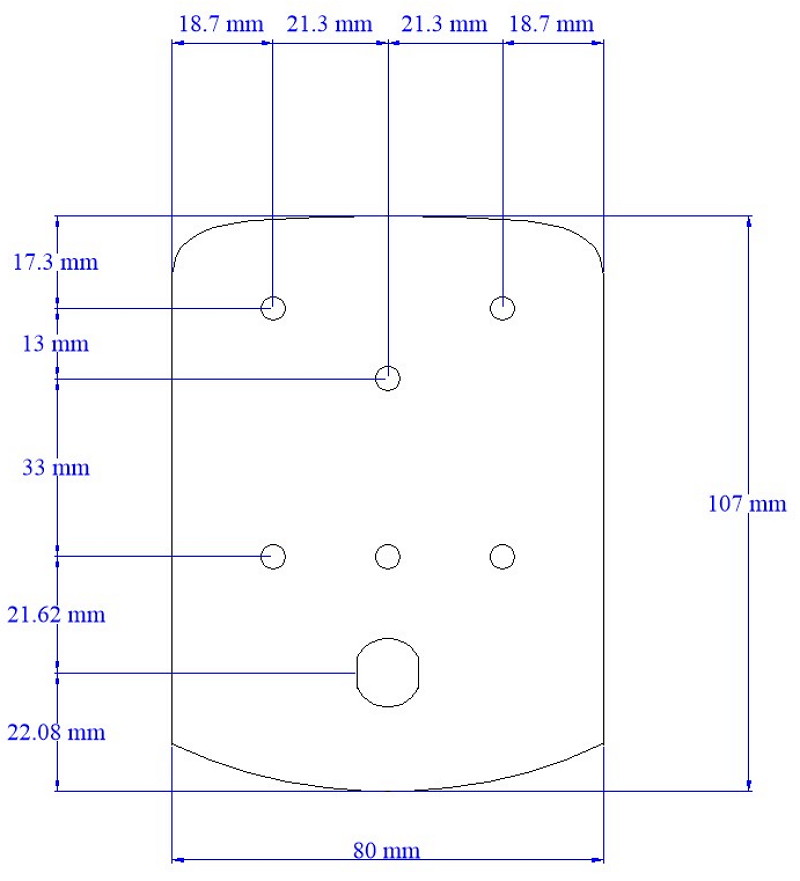
The Base Outline dimensions and mounting hole locations
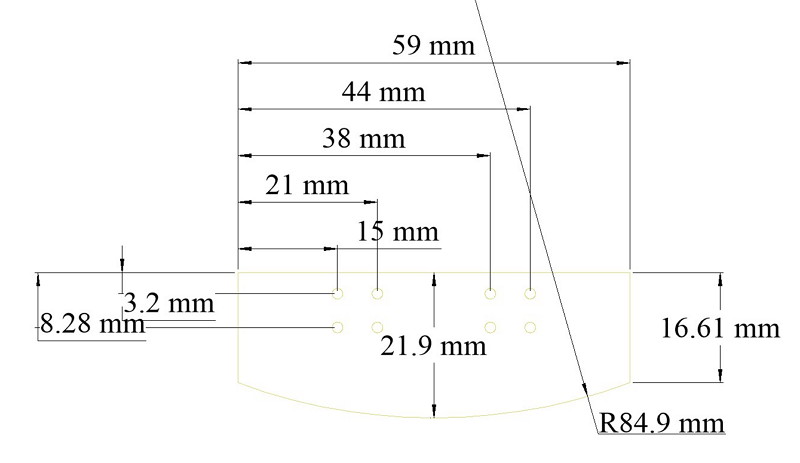
Optional PCB Dimensions
Assembly Instructions for MECH027 – 9th Feb 2021 version
MECH027 V03R04
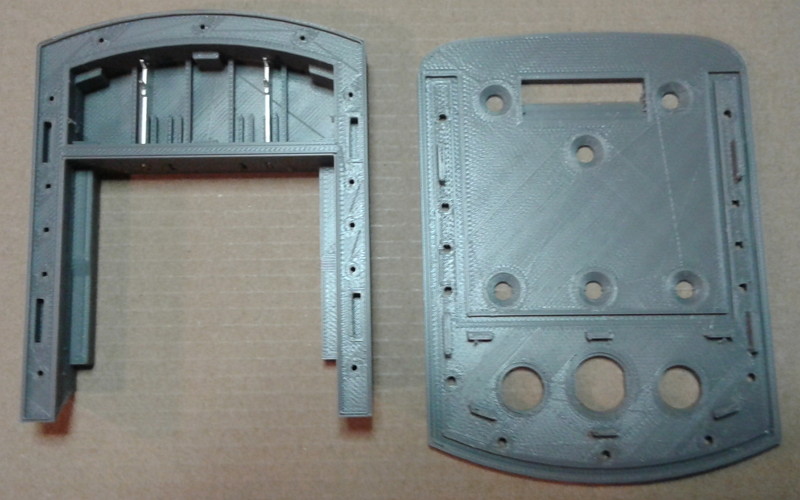
These are the 3D Prints for a MECH027 ALDI XFINITY Battery Clip with the 2 TABs used for the electrical connection to the battery.
I call the part on the left the SLOT and the part on the right the BASE
Clean any 3D printing stringing etc from the parts. Also clean up the 3D printing supports (although I show this later in the instruction).
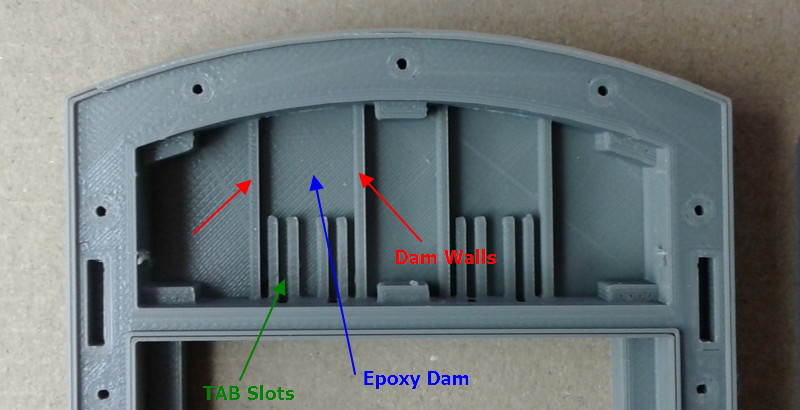
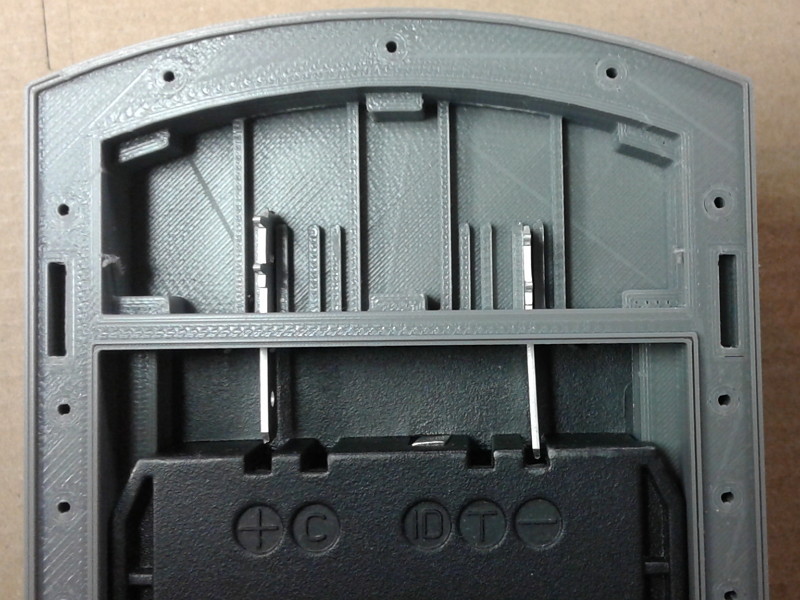
The slot has mountings for the TABs, up to 4 TABs can be fitted, corresponding to the battery connections, in this construction instruction we will only use 2, the positive and negative battery connections.
These prints feature epoxy dam walls, these help keep the epoxy in place while bonding the TABs in place.
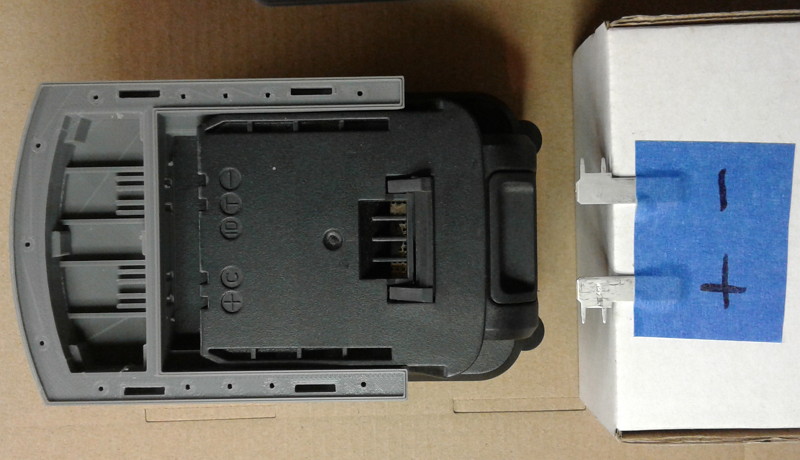
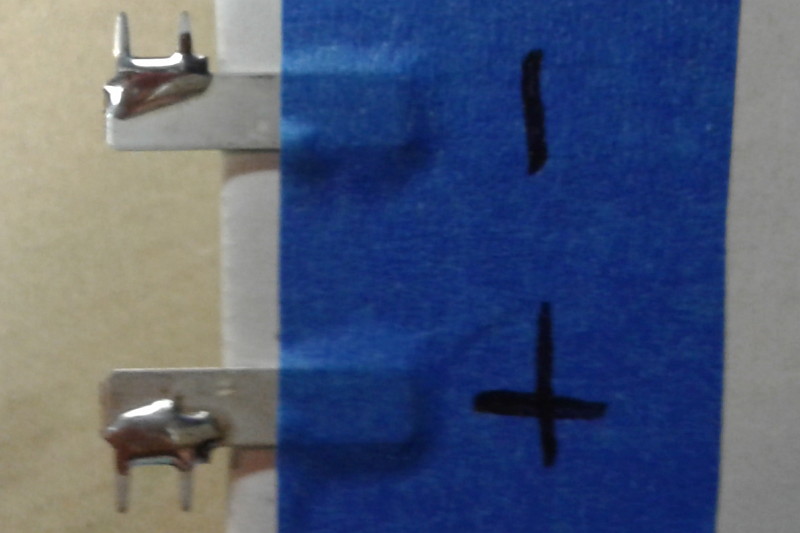
prepare the tabs as shown above
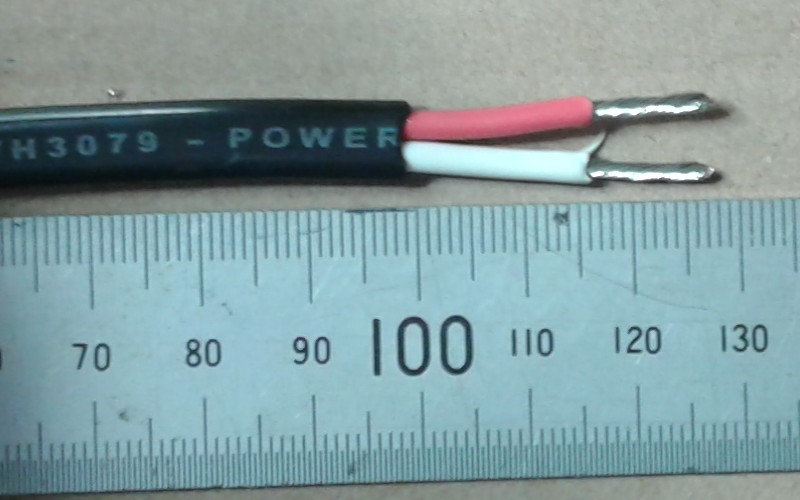
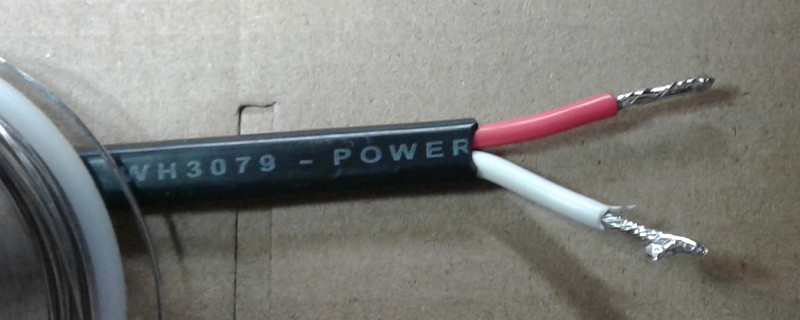
prepare a 2 core cable as shown above ready to be soldered to the TABs
pre tin the TABs as shown. Make sure you don’t end up with solder down where the TABs go into the TAB slots in the SLOT, or you will have trouble inserting the TABs in place.
As shown above is ideal.
pre tin and trim the wires in the cable as well
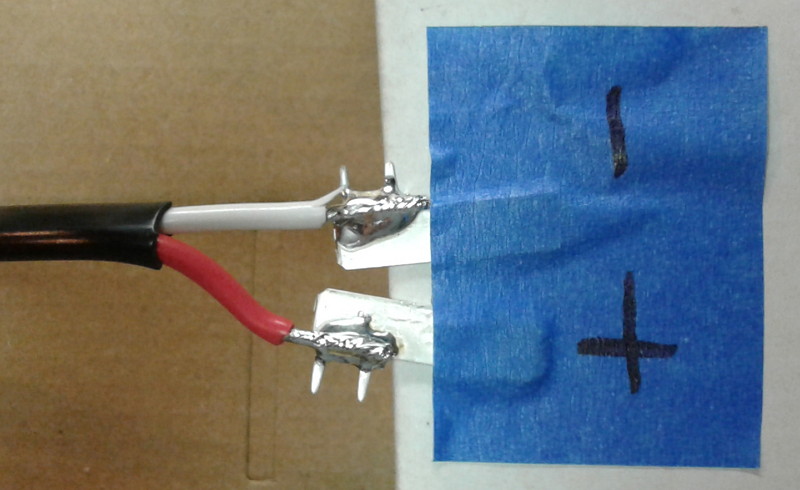
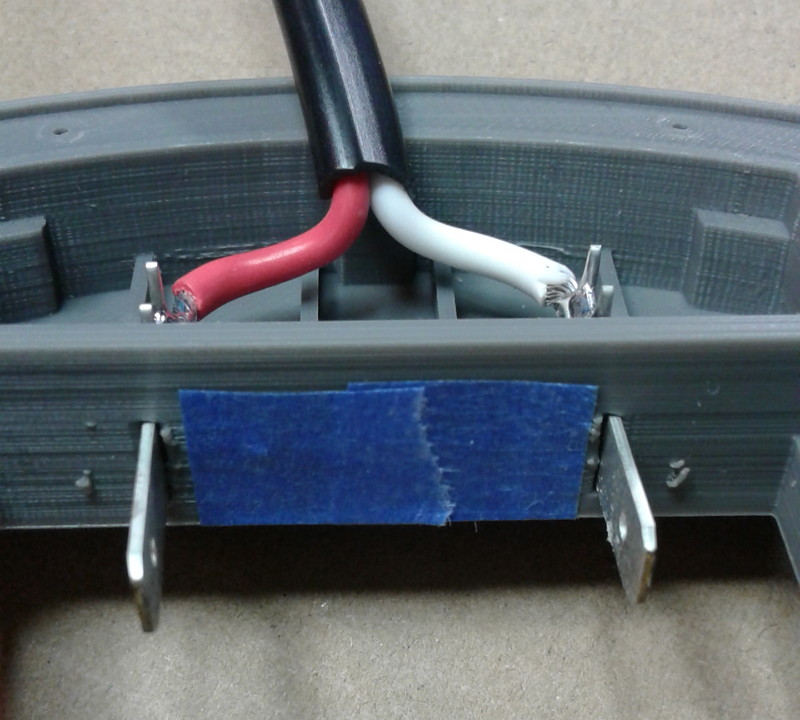
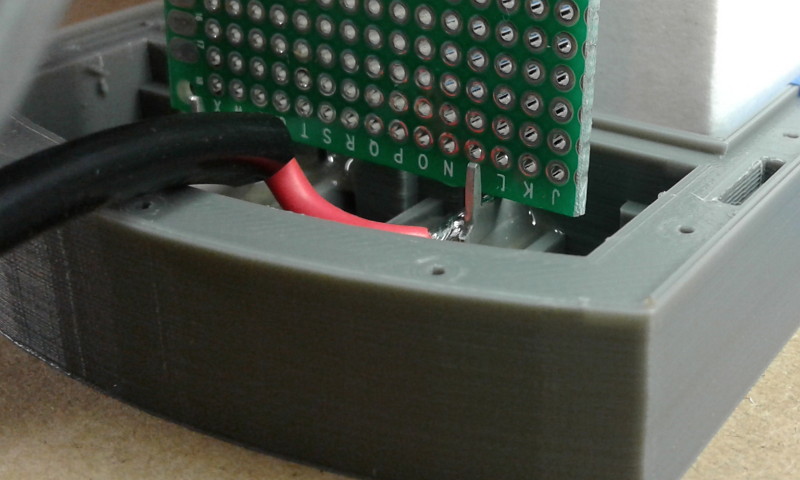
and solder the wires to the TABs as shown above
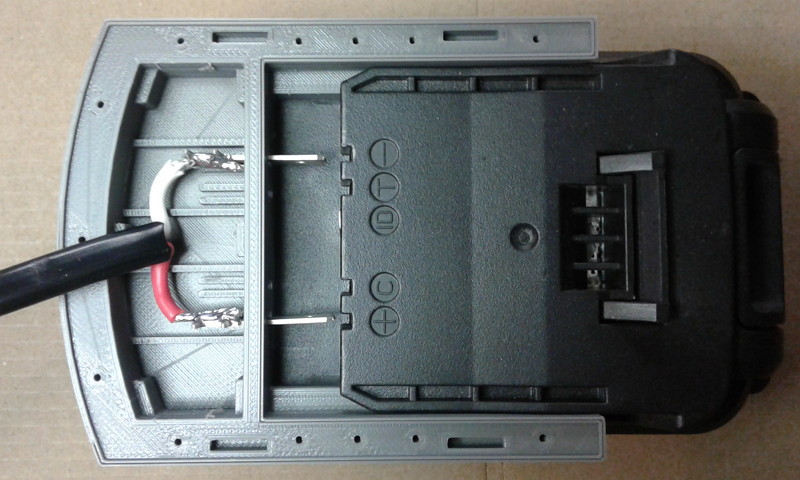
check for fit as shown above.
check the other end of the cable, don’t short the battery.
mask off the other slots for the unused TABs as shown above
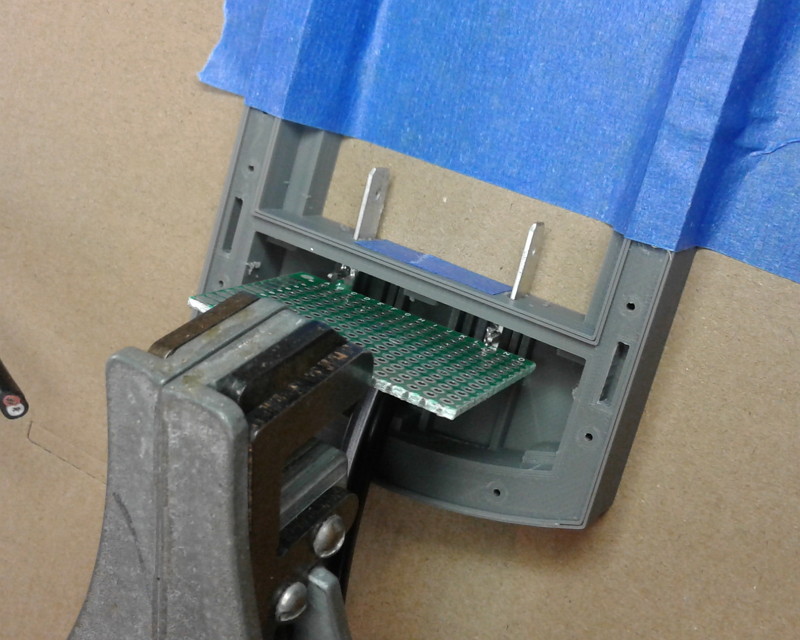
and prepare to hold down the SLOT and the TABs.
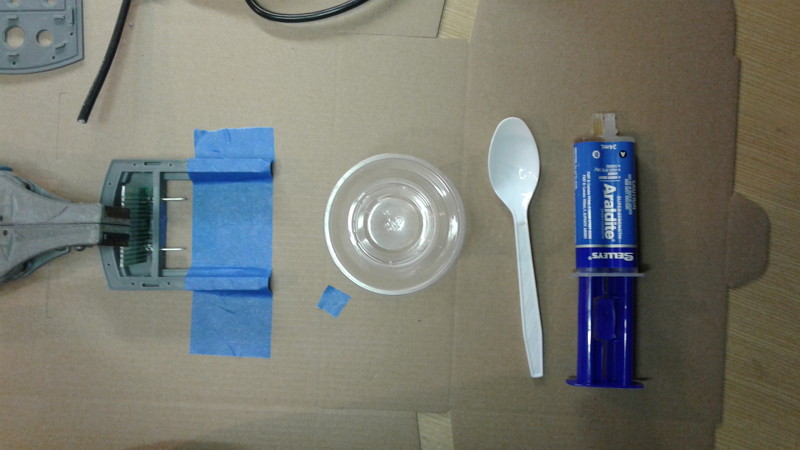
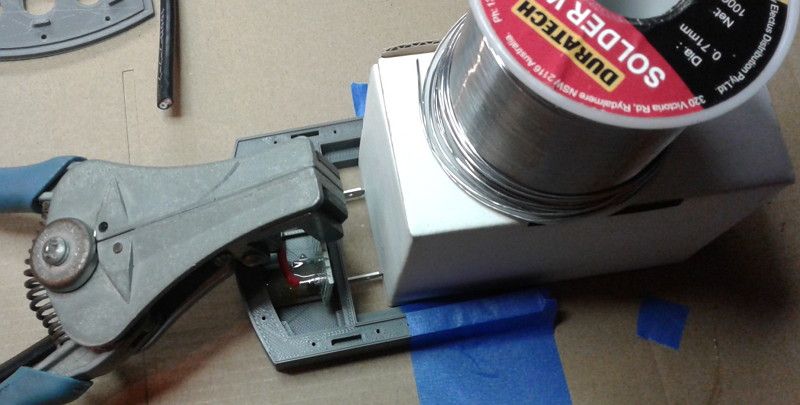
the method I use is shown above, I use masking tape to hold the slot, and a bit of weight between the pins on the TABs.
Use an epoxy that gives you some time to work.
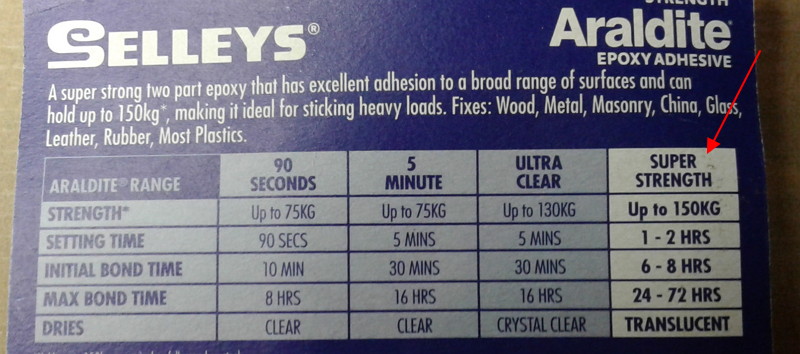
In this case I used Selleys Super Strength with a long Setting Time.
I also use ZAP 30min epoxy.
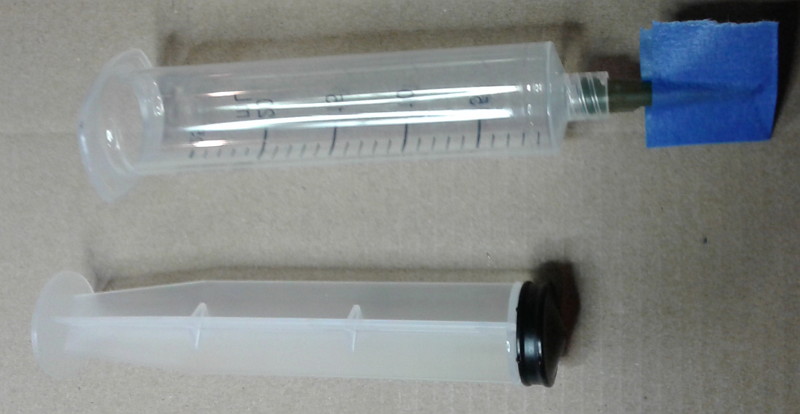
I prep a syringe to dispense the mixed epoxy, this is a LEUR lock type of syringe, with a plastic needle. Both readily available on ebay / aliexpress.
I pre mix in a plastic cup using a spoon
and load the syringe
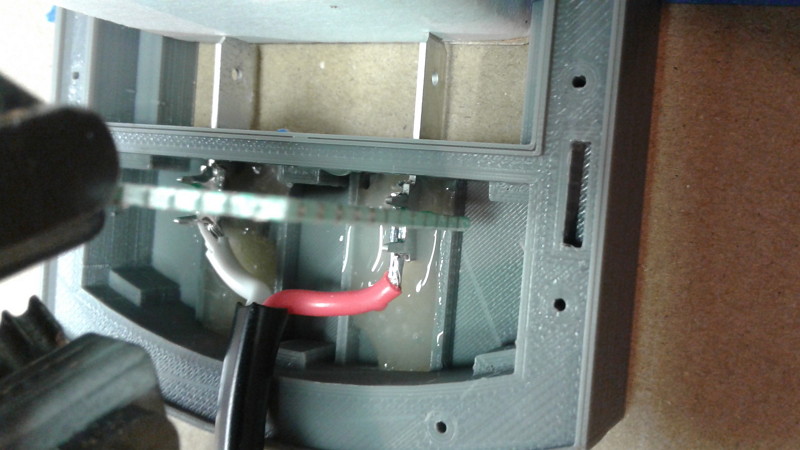
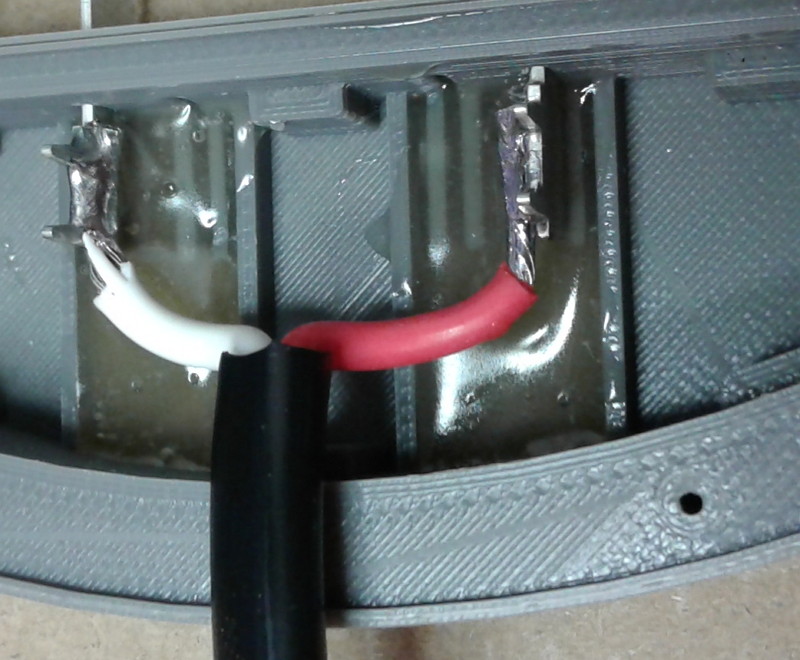
and using the syringe carefully dispense the epoxy between the dam walls as shown above.
what you do not want is epoxy interfering with the later fit of the BASE, so take some time to be careful and clean.
make sure you don’t epoxy the TABs to any fixture holding them in place, notice good clearance shown above.
The epoxy will slump and flow into any gaps. Small voids like shown above are ok , you will see them fill.
I held the tabs in place using some packing in front of the TABS
After leaving overnight, this is the result.
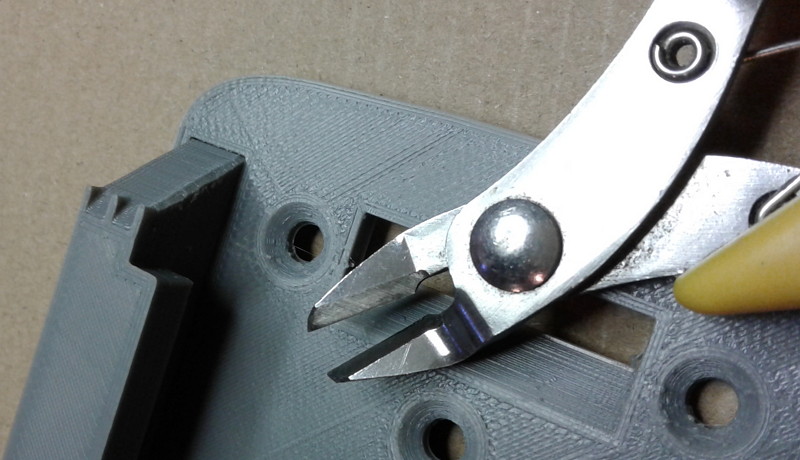
I cleaned up the 3D print supports using clippers and a file
check the base for fit as shown above, clean up if necessary
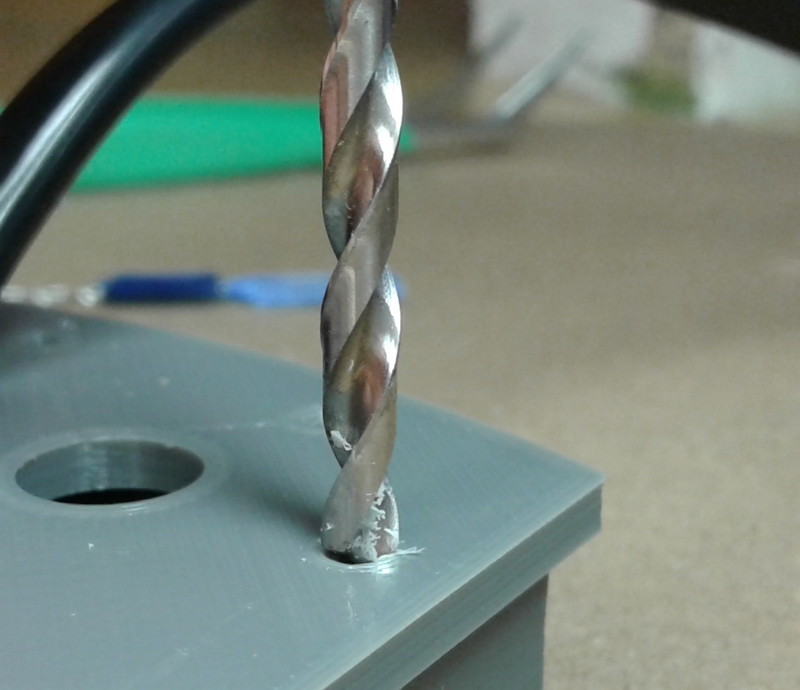
prep a drill to ream the screw holes that hold the BASE to the SLOT. Use a tape flag as shown above so you don’t drill all the way through. I setup and drilled with the BASE in place.
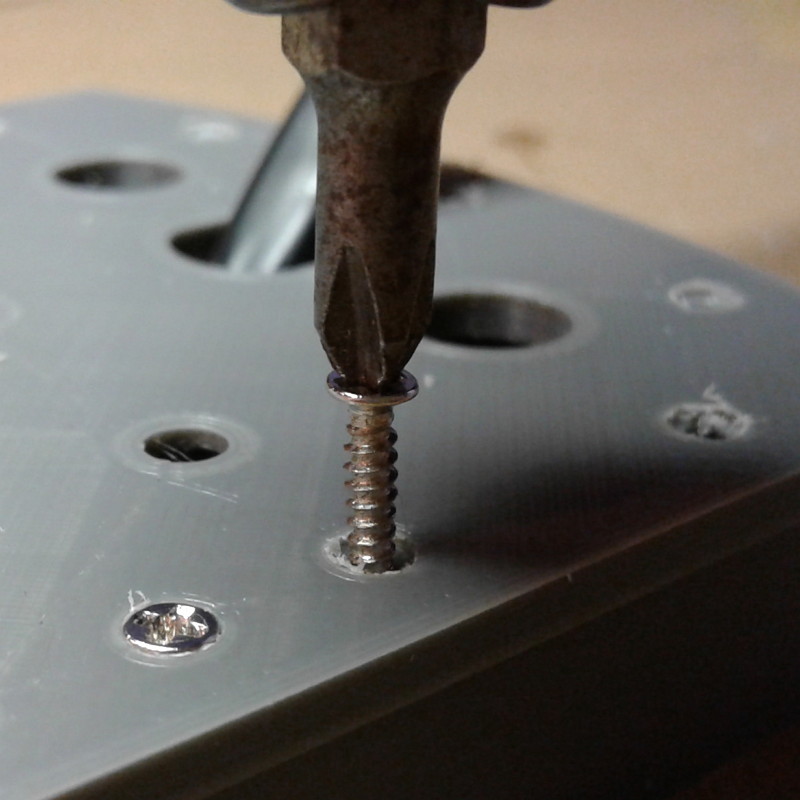
the screws are 2mm x 12mm countersunk.
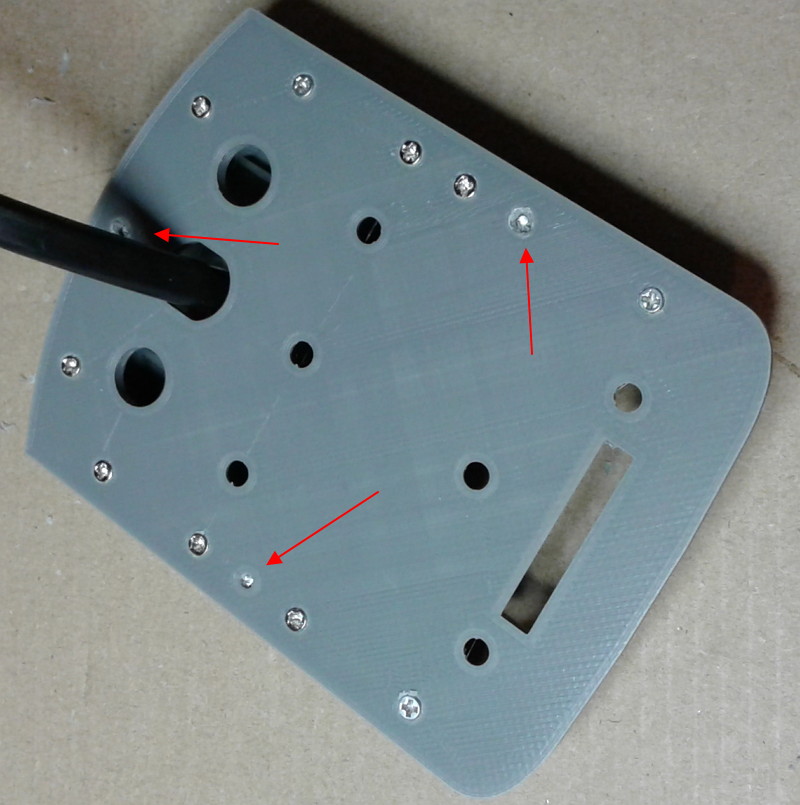
I used a 1.2mm drill, and the holes are still too small and the screws bind, so I am suggesting a 1.5mm drill.
using a drill slightly larger than the screw head, countersink holes for the screw heads by hand, be patient so as not to chew the plastic out.
I put the screws in using a cordless drill set to the lowest torque.
you can see here where the screws are so tight with a 1.2mm drill that the screw head breaks off.
Hence I suggest try a 1.5mm drill.
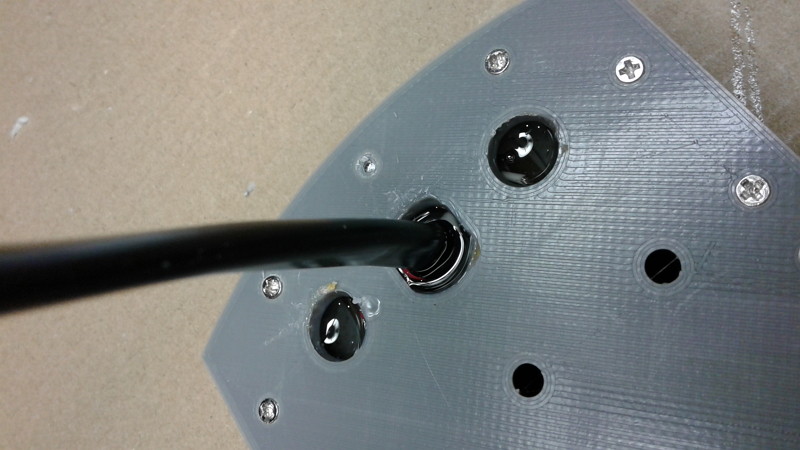
I then consolidate the void int he SLOT using hot melt glue.
You can use epoxy, but consider shrinkage, I recommend a filled epoxy designed for potting.
The hot melt glue will take some time to cool, and also exhibits some shrinkage
and finally a quick test with an automotive LED light bar.

